- CAD Plotters
- Wide-Format Photo, Fine Art & Graphic Printers
- HP Latex, Outdoor, Signage, Wall Paper Printers & Cutters
- Wide Format Ink & Media Supplies
- Multi Functional Printers & Plan Copiers
- Large Format Scanners
- Finishing - Large Format Paper Folders, Trimmers, XY Cutters & Laminating
- Canon A4 and A3 Copier Paper
- Canvas, Stretcher Bars & Laminate
- Fabric Printers
- 3D Printers
- Bricsys BricsCAD® Software
- Colour Management & RIP Software
- Plotter Warranties
- Storage & Filing Systems
- OFFERS
Why use plot-IT?
- Est since 1965
- Group turnover - £15 million
- 5 UK offices with over 100 staff
- HP Designjet Warranty Provider
- Autodesk Gold reseller
- Canon Elite Partner
- Stratasys - Gold Partner
UltiMaker S-Series PET CF Bundle (235438)
-
Description

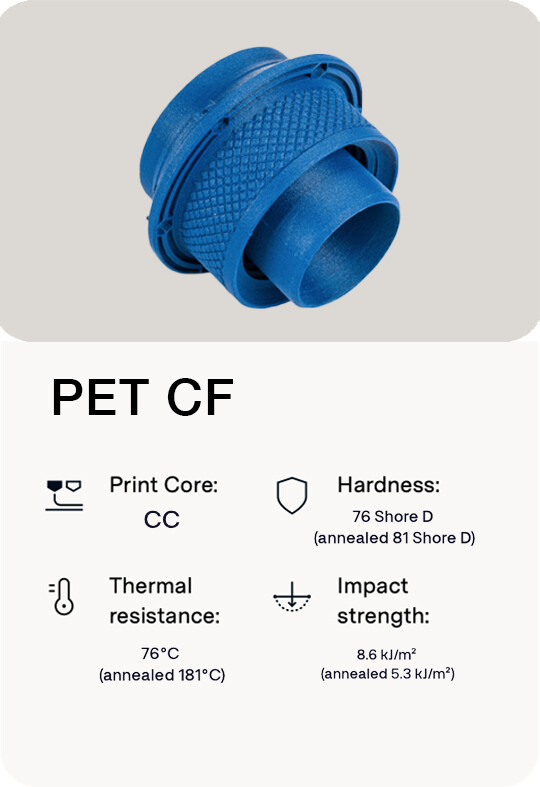
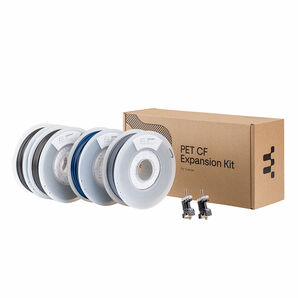
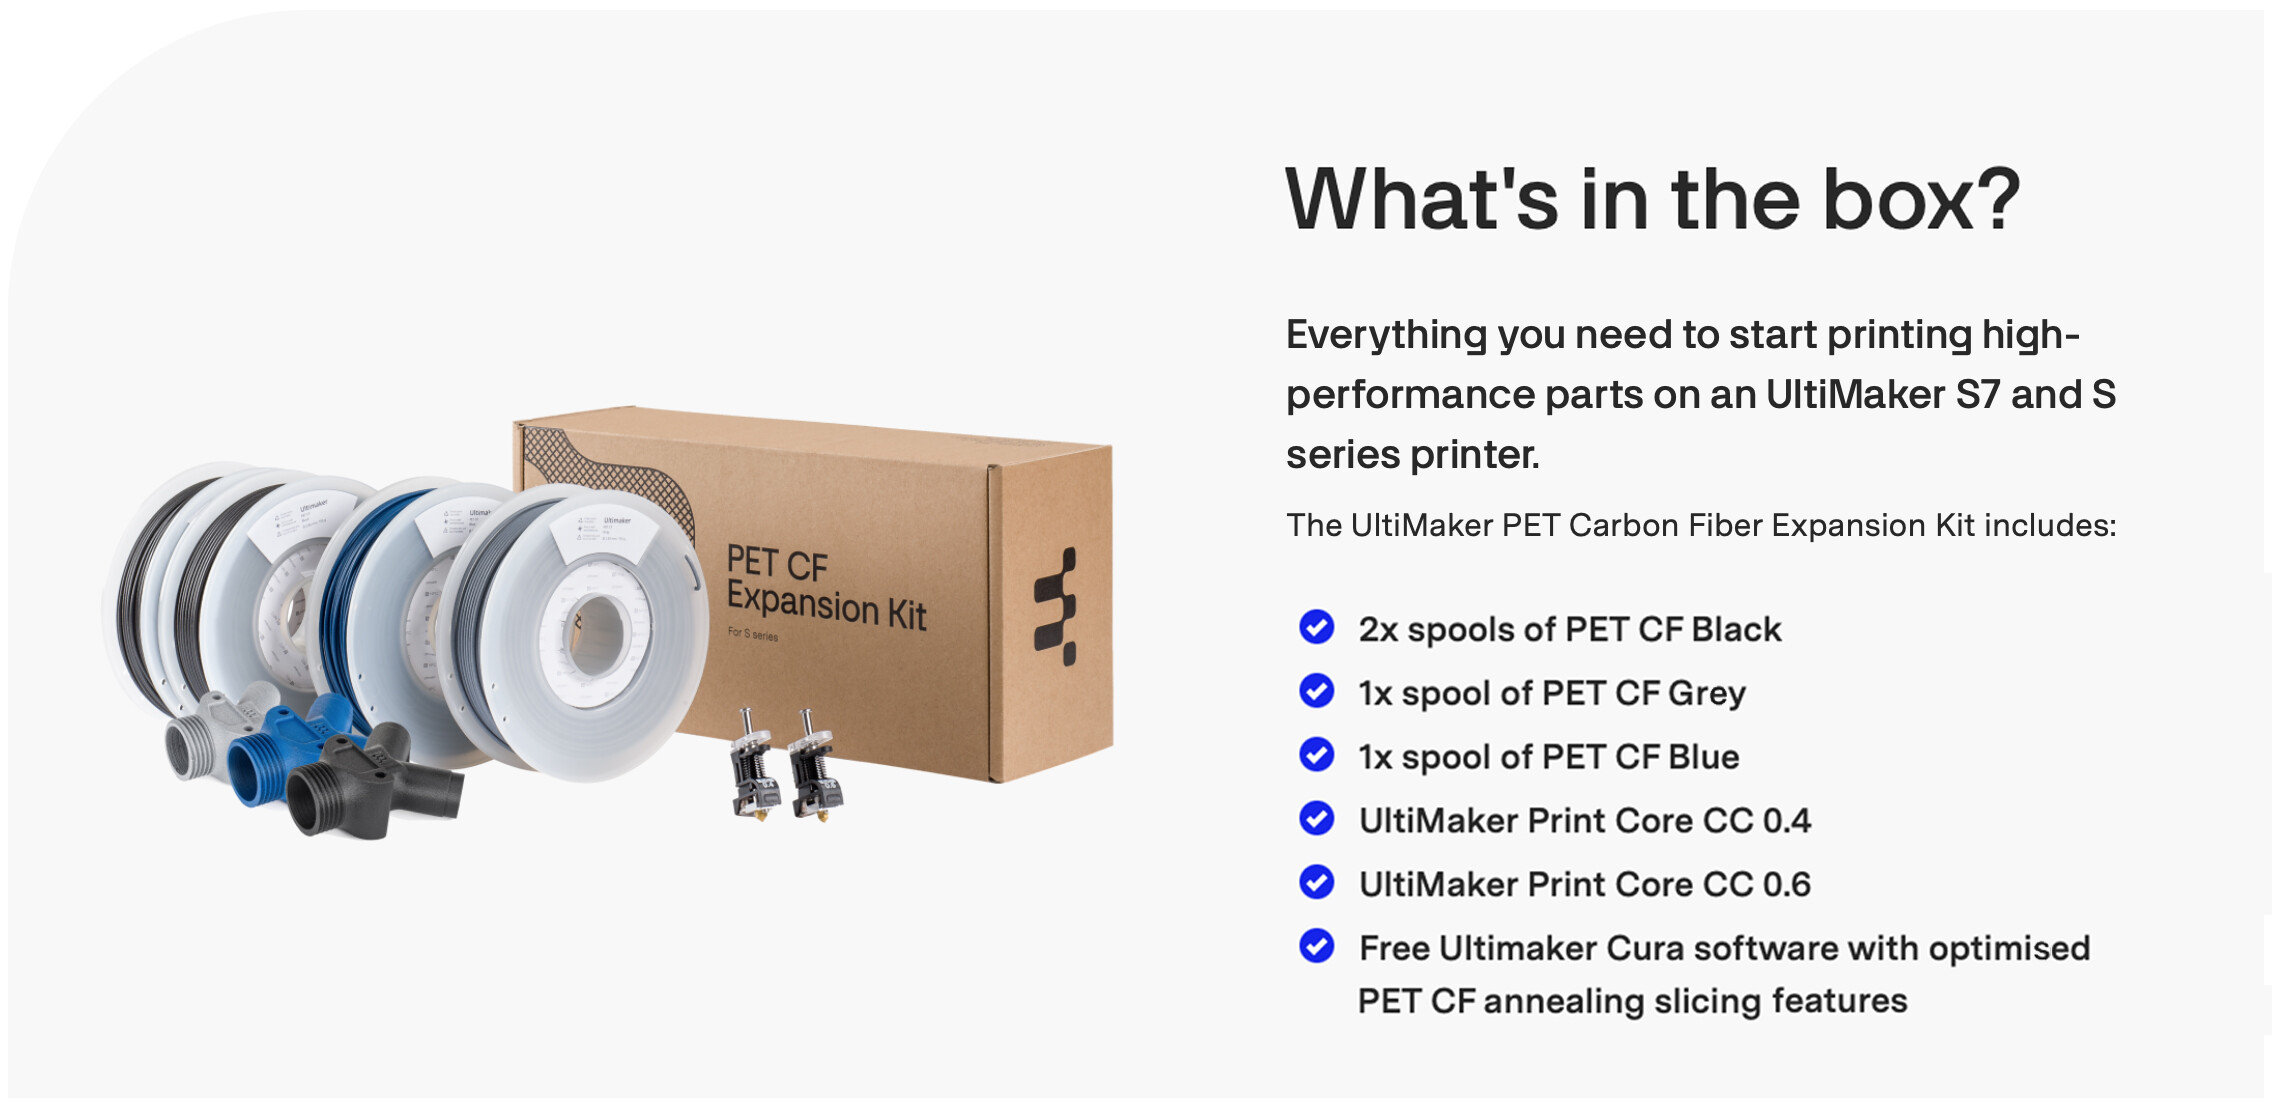
UltiMaker S-Series PET CF Bundle (235438):The PET CF Expansion Kit includes everything you need to start printing high-performance parts on an UltiMaker S series printer so that you can get the full power of carbon fiber composite parts, combined with the seamless workflow and ease of use of the UltiMaker platform.
Easy-to-use and versatile composite material, to its portfolio of high-performance materials for S series 3D printers. UltiMaker PET CF offers superior strength, high heat resistance, and high chemical resistance for strong high-performance thermoplastic applications for a wide range of industries. This product is approximately 90m long.

With its exceptional mechanical properties, UltiMaker PET CF empowers engineers to produce stronger and more accurate parts for a multitude of applications, such as manufacturing tools, jigs and fixtures, and end-use parts. Engineers can also leverage the benefits of PET CF for their engineering prototypes, enabling easy and extensive testing of technical concepts and functions. Moreover, PET CF offers a reliable solution for replacing broken or hard to-source production parts. By utilising its strong mechanical and thermal properties manufacturers can swiftly print replacement components, eliminating the need for costly production line shutdowns. The material's excellent strength and stiffness make it ideal for high-performance applications, delivering enhanced part performance even under demanding conditions.
One of the standout features of PET CF is its ability to achieve even higher strength, stiffness, and temperature resistance through annealing. By annealing printed parts, engineers can achieve a temperature resistance of up to 181°C and increase strength by up to 30% and stiffness by up to 10%, resulting in parts that excel in challenging environments.
Exhibiting low moisture sensitivity compared to other carbon fiber materials, PET CF requires limited drying. When stored in the UltiMaker Material Station, it remains well-conditioned, enabling a reliable printing experience and consistently high-quality prints. PET CF is compatible with dedicated support materials, such as UltiMaker PVA and Breakaway, offering users full design freedom and enabling the creation of complex composite parts without limitations.
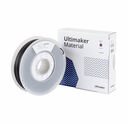
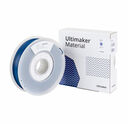
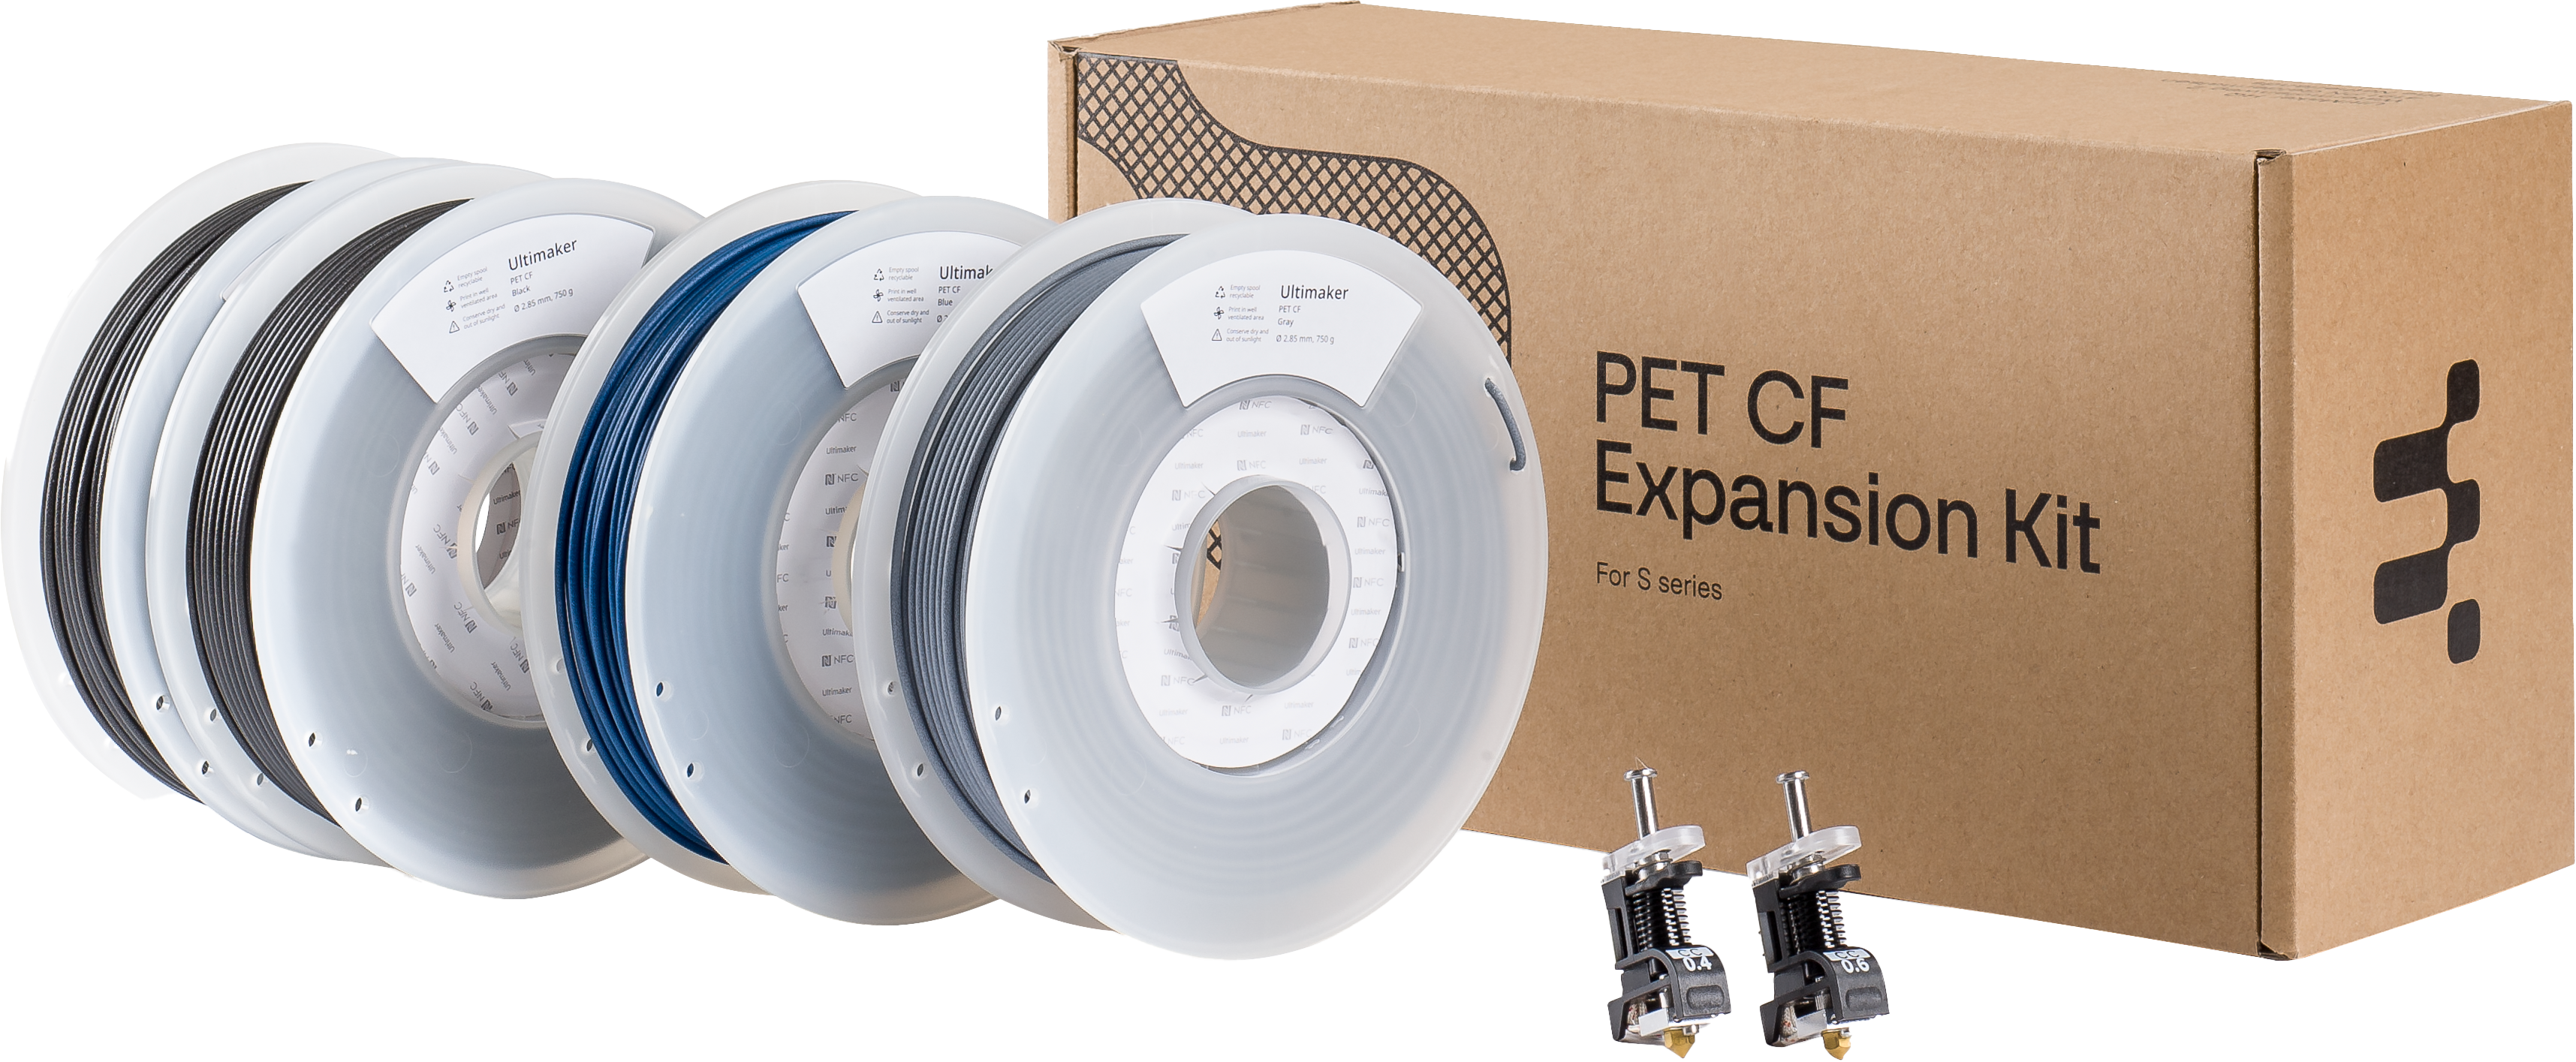
UltiMaker also offers PET CF in multiple colours, including black, grey and blue. This unique feature allows users to colour code their carbon fiber prints, catering to specific use cases or aesthetic requirements. The material is fully integrated into the UltiMaker platform through NFC-equipped spools, offering a seamless experience that makes use of NFC material recognition, a dedicated Print Core CC, support material compatibility, and intent profiles. For users who want a complete composite printing solution, PET CF will also be available as part of the UltiMaker PET CF Expansion Kit. The Expansion Kit includes two spools of PET CF in black and one spool each in both blue and grey. It also includes one 0.4mm Print Core CC and one 0.6mm Print Core CC.
KEY FEATURES:
- Easier to print than most composites
- Next level strength, heat, and chemical resistance, with the unique feature of colour options. For high-demand applications and colour-coded manufacturing
- Excellent strength and stiffness
- Thanks to its low moisture sensitivity, limited drying is needed for PET CF. When stored in the UltiMaker Material Station, your PET CF will remain dry and ready to produce reliable high-quality prints.
APPLICATIONS:
- Jigs
- Fixtures
- End-of-arm tooling
- Functional prototyping
- Tooling
- Manufacturing aids
-
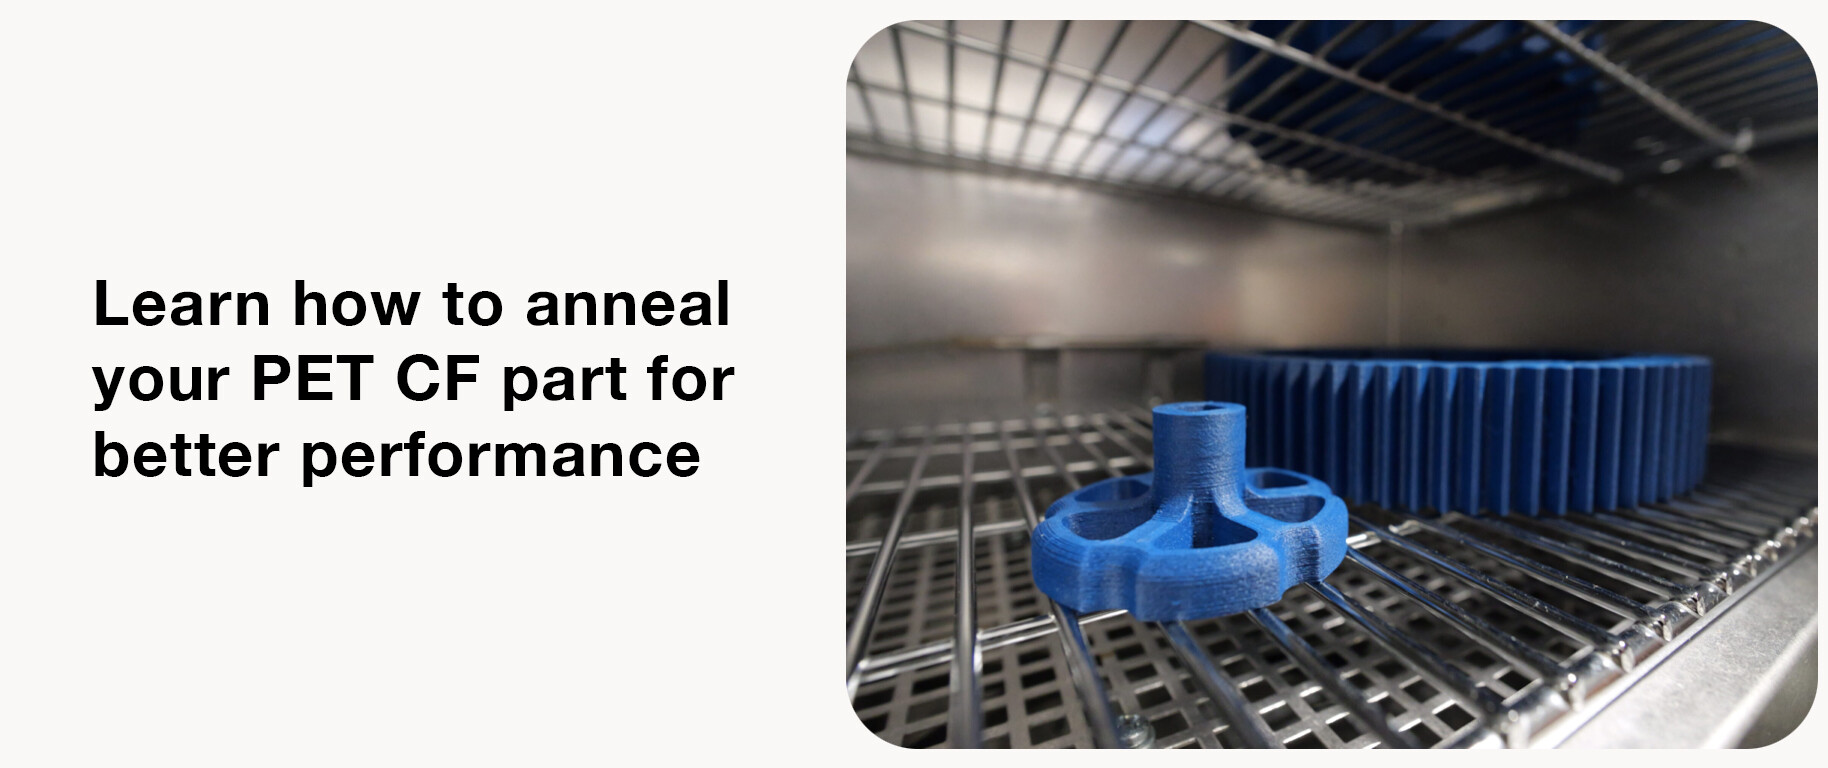
Learn how to anneal your PET CF part for better performance
3D printing offers a world of possibilities for creating functional parts that are more affordable and customisable than those made with traditional manufacturing techniques. However, you have to be careful to match the material you are printing to your specific performance requirements. The recently released UltiMaker PET CF is a carbon fibre composite material that has impressive strength, stiffness, and heat resistance properties, making it perfect for creating high-performance parts.
Yet PET CF is also the first material by UltiMaker that is able to be enhanced for even greater performance. That’s because PET CF was designed and tested with annealing in mind. Annealing is a post-processing procedure used to refine 3D printed parts, enhancing their structural integrity and durability. In this guide, we'll explore the benefits of annealing your PET CF parts, and walk you through how to do so.
What is annealing?
Annealing is a heat treatment process traditionally used in metallurgy and glassmaking to relieve stresses, increase ductility, and improve material properties. The basic principle involves heating a material to a specific temperature using a specialized oven and then cooling it at a controlled rate.
When applied to 3D printed parts, particularly those made from semi-crystalline materials like PET CF and Nylon, annealing can improve mechanical properties such as tensile strength, stiffness, and heat resistance. The results of annealing will vary depending on the material used. For this reason, the process can be complicated and may yield unexpected results. UltiMaker PET CF, however, was designed specifically with annealing in mind.
Why should you anneal UltiMaker PET CF?
PET CF is especially suited to annealing due to its semi-crystalline structure. Many 3D printing polymers such as ABS and PETG have an amorphous structure which means the polymer chains within them are arranged in a chaotic way. Similar to a bowl of spaghetti on a molecular scale. Crystalline structures are made up of ordered chains that result in better strength properties. A semi-crystalline material like PET CF can be crystalised by heating it to its glass transition point so that the polymer chains within it become more organised, and therefore stronger.
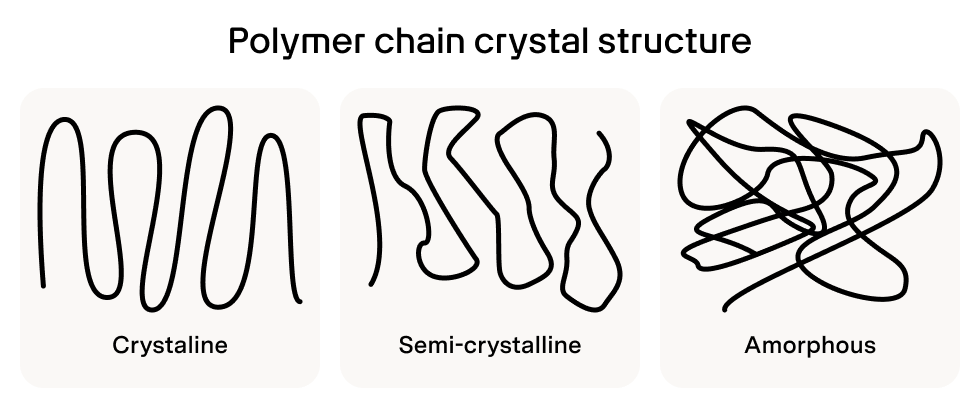
The suitability of PET CF, combined with the extensive testing and validation performed while developing it, makes it the perfect candidate for annealing. If you follow the guidelines in this article, you will end up with a part that is stronger, stiffer, and more heat-resistant. Performance numbers are also provided for both the standard and annealed versions of the material in the PET CF technical data sheets, so you can know how your final part will perform.
Based on those numbers, you can expect the following performance increases:
- A strength increase of 30%
- A stiffness increase of 10%
- An increase in heat resistance from 80 °C to 180 °C
These improvements are huge and make PET CF a viable replacement for metal and carbon fibre parts created using costly traditional manufacturing techniques.
The downsides of annealing your part
Firstly, your part will shrink slightly when it is annealed. This is one of the reasons why the process is so complicated. It’s also possible for your part to warp or sag while being heated. Luckily, however, these issues can be compensated for. This will be explained during the next section.
The second and more impactful downside is that there will be a reduction in some of the specific mechanical properties of your part. Particularly, impact resistance and Z-adhesion resistance. Your part will be less resistant to pressures perpendicular to the orientation in which it was printed. You can expect a decrease of tensile strength in the Z-axis of around 15%. For this reason, it’s important to carefully consider how your part is oriented during printing so that your final part is not weakened in the direction in which force will be applied to it.
How to anneal PET CF
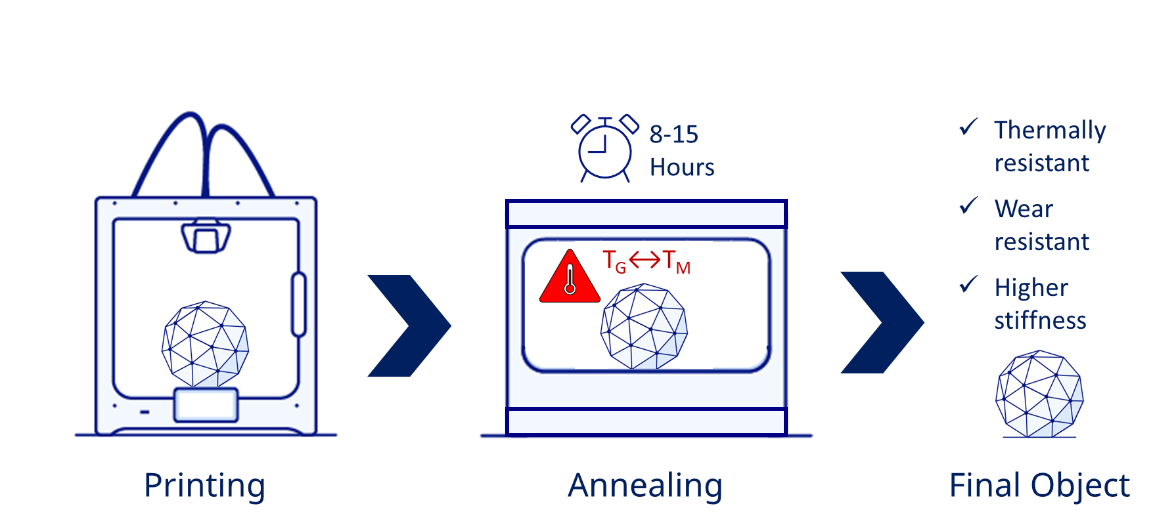
To ensure success when annealing your part, you need to consider the requirements of annealing at every step. That starts with selecting (or designing) your 3D model. The annealing process does not work well on models with thin walls. For best results you should avoid walls of less than 4 mm thickness and try to adhere to part design best practices.
Next, when slicing your part, you need to compensate for the shrinking process. For PET CF, the shrinkage experienced during annealing is - 0.3% in the XY axis’ and - 1.7% in the Z axis. You can compensate for this manually by enlarging your part but that is not necessary when using UltiMaker Cura. Instead, you can choose the professionally tailored annealing intent profile and it will apply the relevant compensations automatically.
Finally, you need to make sure that supports are used if your part has any significant overhangs or bridges. This is because these features can sag during the annealing process. You can choose to use either regular supports (support structures printed with PET CF) or multi-material supports using the UltiMaker Breakaway support material.
Once you have selected the annealing profile, you can slice and print your part. When removing your part from the printer, do not take it off the build plate. This is because the part needs to be annealed in the same orientation in which it was printed. Putting the print in the annealing oven still attached to the build plate is an easy way to ensure this while making sure that any supports remain in place. Both flex plates and glass plates can be used in an annealing oven.
Programming your oven
Before turning on your oven we need to determine how long it should be annealed for. You can do this by measuring the thickest section of your part. The annealing time in hours is the thickness in mm / 2. Let's say your part is 4 mm thick, then you would need to anneal the part for 2 hours at the annealing temperature. The specifics of programming your annealing oven should be provided in the user manual for your oven.
A verified annealing profile for a PET CF sample of 4 mm thickness is depicted below. Different annealing temperatures (Tc) can be decided upon based on property preferences. Higher temperatures will result in a part with higher thermal resistance but lower stiffness and increased shrinkage. It is advised to maintain heating/cooling ramps for optimal results. High-temperature annealing will therefore result in longer annealing times.
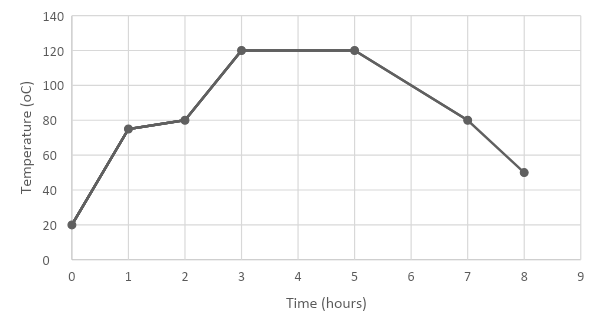
A profile for the Binder FP115 can be downloaded here.
Process Duration (h) Temp (°C) Ramp (°C/h) Start (N/A) 20 (N/A) Heat to Tg 1 75 55 Unstress 1 80 5 Heat to Tg 1 120 40 Anneal 2 120 (N/A) Cool to Tg 2 80 - 20 Cool to RT 1 50 - 30 Total 8 Once the object is cooled down and retrieved from the oven, the annealing process is completed, and the part is ready for use. Regular post-processing methods like sanding, polishing, and coating can be applied if desired.
Recap of the annealing process
Here is a quick recap of all the steps needed to anneal your part:
- Select an appropriate part (no thin walls)
- Orient your part correctly in Cura taking into account Z-axis resistance
- Select the annealing intent profile
- Use supports if necessary
- Slice and print your part
- Measure your part to determine the annealing time
- Insert your part into the annealing oven in the same orientation in which it was printed
- Remove your annealed part from the oven and post-process if necessary
-
Filament: Available colours
